
REVIEW · KIRUNA
Kiruna: Northern Light Photo Tour with Equipment
Chasing aurora never feels routine. This Kiruna Northern Lights photo tour pairs Sami local know-how with hands-on camera support, so you are set up to photograph the sky, not just watch it. I love that you get a small group experience with real coaching as conditions change. I also love that you can borrow the right gear, including a tripod and a wide-angle setup made for aurora photos.
One consideration: the Northern Lights are weather-dependent, and no guide can guarantee clear skies. On nights with clouds, you may still get guidance, warm clothing, and the drive to smarter viewing spots, but the sky can still say no.
In This Review
- Key things I’d focus on before you go
- Kiruna at night: how a 4-hour aurora hunt stays realistic
- Meeting points and the first gear check at 7:15 or 7:30 pm
- The Sami guides: local context you will notice in your photos
- Equipment you can actually use: camera loan, tripod, headlamp
- How the tour keeps chasing clear skies when clouds move in
- Photography coaching that fits real gear, not theory
- The night flow: what you do during the 4 hours
- When the aurora shows, you get the real win
- Weather reality check: what to do if aurora activity is muted
- Price and value: why $220 can make sense here
- Who this Kiruna tour suits best
- Quick decision guide: should you book?
- FAQ
- How long is the Kiruna Northern Lights photo tour?
- Where are the pickup points and times?
- Is transportation to the aurora spots included?
- Do I need to bring a camera?
- Do I need to bring a tripod?
- What other gear is included besides the camera and tripod?
- What should I wear or bring?
- Is the Northern Lights guaranteed?
- What languages are the guides speaking?
- Is it suitable for children or people using a wheelchair?
- Is an SD memory card included?
Key things I’d focus on before you go
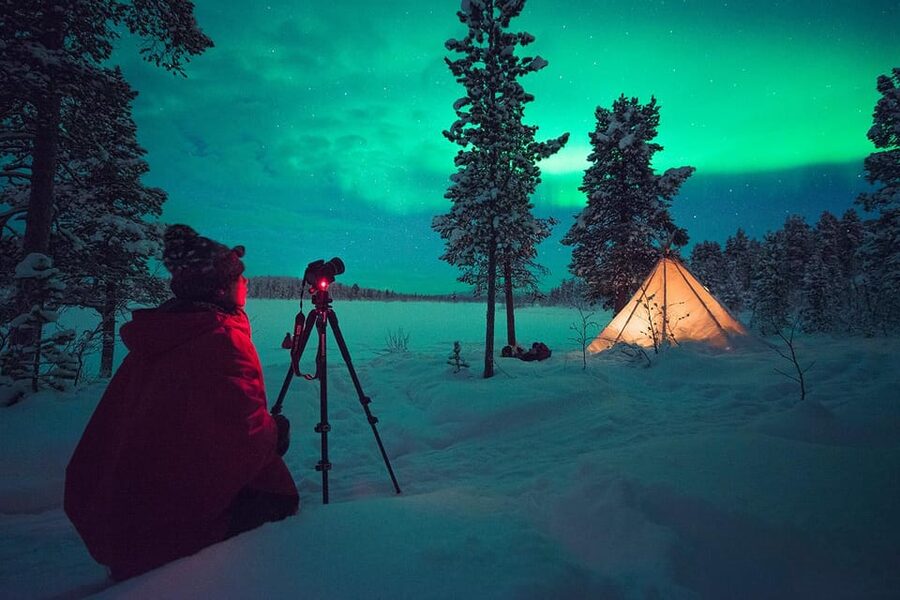
- Sami photo guides who pick locations based on the weather
- Camera and tripod borrowing, including a wide-angle lens setup for aurora
- A flexible plan for clear skies, with transportation to different spots
- Warm cover clothes and a headlamp so you can stay outside longer
- Small group limit of 8, which makes the instruction feel personal
Deeper into Lapland, here is what else we booked
- Kiruna Northern Lights Tour with Photographer★ 5.0 · 735 reviews
- Kiruna: Northern Lights Tour with Photos★ 4.9 · 333 reviews
- Northern Lights Tour from Kiruna to Abisko with Dinner★ 5.0 · 311 reviews
- Sit Down Husky Ride Dog Sled Tour in Kiruna★ 5.0 · 216 reviews
Kiruna at night: how a 4-hour aurora hunt stays realistic
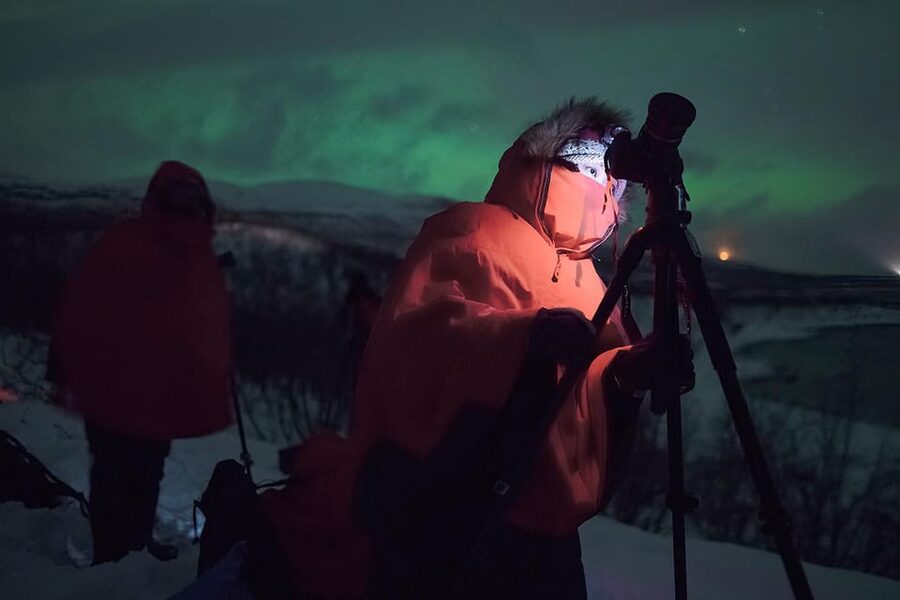
Kiruna is built for this kind of night. When you are in the far north, the sky can shift fast, and that is exactly why this tour is designed around movement. It is not a sit-still-and-hope plan. The core idea is simple: the guides choose where you go based on the night’s cloud cover, darkness, and general conditions, since you need clear skies to actually see the Northern Lights.
The tour runs about 4 hours in total, which is long enough to get set up, learn basic aurora photography technique, and still adapt if the first sky you see does not cooperate. You get transportation to the best spots that night, which matters because aurora visibility and photo clarity depend on things like light pollution and cloud gaps. In a region like Norrbotten County, you are not just photographing the lights, you are photographing the sky’s mood.
Meeting points and the first gear check at 7:15 or 7:30 pm
The schedule starts in the early evening, with pickup included. You will either be collected from Camp Ripan at 7:30 pm or from the Tourist Center, Malmvägen 9B, around 7:15 pm.
Why does this timing matter? Aurora nights often begin with a waiting period where the best plan is to get your settings ready before you need them. The tour gives you time to settle, go over the equipment, and get your basics down before you are rushed into trial-and-error. Even if you are bringing your own phone, the tour still helps you understand the basics of keeping shots steady and readable in low light.
The Sami guides: local context you will notice in your photos
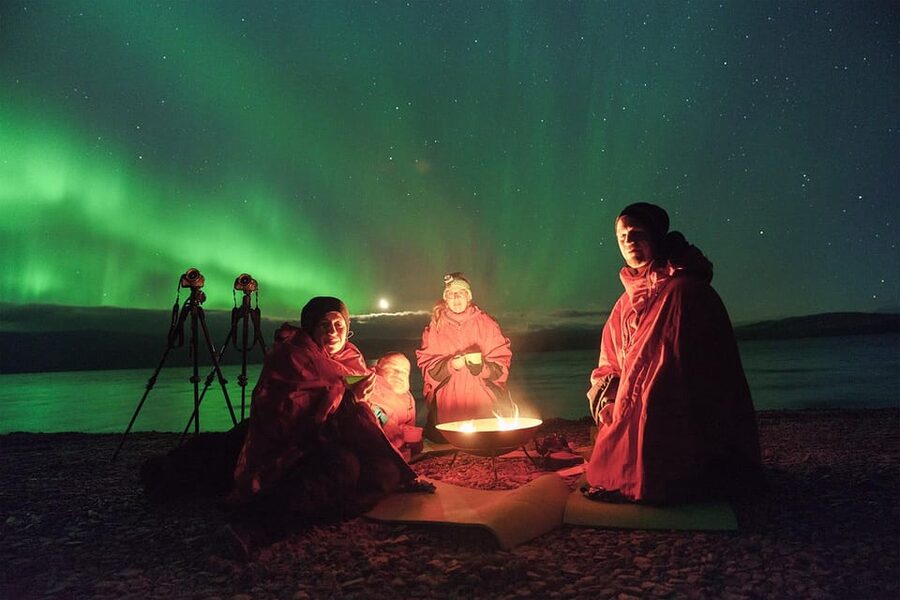
What makes this experience feel different is the guide style. You are led by professional Sami photo guides who know the area deeply. The program describes them as people who have been in the forest since childhood, and that shows in how they talk about where you go and why. When a guide explains local nature and the Arctic around you, it stops being generic sightseeing. It becomes part of how you frame your shot.
One theme that stands out is how the guides connect the aurora to local culture. That does not replace photography, but it adds meaning to it. When you understand what you are looking at, the night feels more alive, and you tend to take better photographs because you pay attention to details like horizon placement and direction.
If you are a first-timer, you can rely on this: the guides do not just point. They explain, and they adjust to your gear, whether you are using borrowed equipment or your own device.
Equipment you can actually use: camera loan, tripod, headlamp
This is a photo tour where the equipment support is part of the deal, not an afterthought. The tour includes:
- Camera equipment with a wide-angle lens designed for Northern Lights photography
- A tripod that you can use with the camera or even a phone setup
- A headlamp
- Warm cover clothes
The wide-angle lens piece is important because aurora photos look best when you capture enough sky and still include grounding elements like treetops or open darkness. A tripod is essential because long exposures blur if you breathe too hard or shift your stance.
Also, headlamps are not just comfort. They help you handle settings safely and quickly in the dark. You will be surprised how much easier it is to concentrate when you can see your controls without ruining your night vision completely.
One practical note from what the tour states: your SD memory card is not included, and it can be purchased. If you plan to use the tour-provided camera, make sure you know whether you will need to buy one locally, or come prepared.
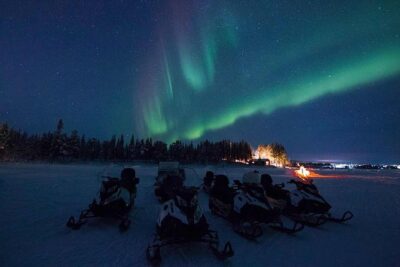
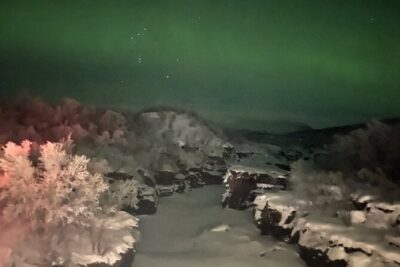
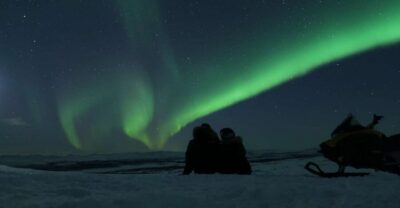
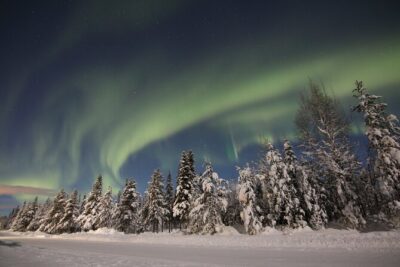
Other aurora nights we stood out in the cold for
How the tour keeps chasing clear skies when clouds move in
Aurora hunting is a planning problem dressed as a sky show. This tour openly builds that into the experience: every night is unique, and the meeting spot is not fixed until conditions are assessed.
In practice, that means the guides keep options open. If the sky looks promising, you stay on plan. If it is not, you go to better spots. The tour even highlights that there are always chances, and that in bad weather there are locations with better conditions if you know where to go.
This is why the transportation is included. You are not stuck with one viewpoint while clouds roll over your only frame. Instead, you get active problem-solving. And that is exactly what you want from a Northern Lights photography tour, since you are photographing a moving target, literally and figuratively.
Photography coaching that fits real gear, not theory
You get more than a location. You get instruction on how to handle your camera for aurora shots. The tour describes learning about Arctic nature and camera handling, with tips tailored to the night’s conditions and the equipment you have.
Here is what that coaching usually translates to once you are out there:
- You learn how to keep your camera steady with a tripod
- You learn the basic approach to shooting low light without turning every image into a blurry mess
- You get guidance that can match borrowed equipment and also help if you want to test your own camera
One thing I like about this style is that it respects different comfort levels. If you bring your own camera, you still benefit from the guide’s aurora approach. And if you are brand new, you are not left guessing with settings you cannot interpret. The tour structure is meant to get you from confusion to usable images fast.
The night flow: what you do during the 4 hours
The tour is short on paper, but it is built like a workshop in the Arctic. A typical rhythm looks like this:
First, you arrive and get set up. You check in for pickup, then you move to where gear prep can happen. You get your warm clothes and headlamp, and you receive the camera support for aurora photography, including the wide-angle lens option and tripod.
Next, you head to the best sky you can find. The guides choose the location based on weather, aiming for clear conditions. This is the heart of the experience, because you cannot photograph what you cannot see.
Then you shoot and adjust. The guides help you use the equipment and aim for better shots. If aurora activity is present, you are ready. If it is not immediately obvious, you stay focused and keep trying as conditions shift.
Finally, you wrap up with takeaways. Even if the aurora varies night to night, you come away with practical settings handling and a clearer understanding of how to approach aurora photos when you are back home.
When the aurora shows, you get the real win
The strongest payoff is obvious: the chance to see the Northern Lights and capture them on camera. The tour highlights that there is a chance even when weather is not ideal, and that local spot knowledge can improve your odds.
In other words, this is the kind of tour where the guide’s job is not finished when the sky looks rough. The guide’s job is to keep searching for better conditions. And when the aurora does appear, all that preparation makes your results much more satisfying, because you already have the tripod stable and the basic approach figured out.
Weather reality check: what to do if aurora activity is muted
Let’s be honest about the part that matters most. This tour cannot guarantee clear skies or aurora visibility. The program states that your ability to see the Northern Lights depends on weather, and it is not something anyone can promise.
So if the night turns cloudy, you need to adjust your expectations. Your success might be better described as getting the right instruction, using the gear correctly, and having the guide work hard to find workable spots. If you get breaks in the clouds, you might still capture something. If you do not, you still learn how to operate the equipment and plan next time with more confidence.
My advice is to think of this as a guided aurora photography practice session in the Arctic, with the lights as the prize. That mindset keeps the experience fun instead of frustrating.
Price and value: why $220 can make sense here
At $220 per person, this tour is not the cheapest way to chase aurora. But it may be better value than it looks because you are paying for multiple items that add up quickly:
- A professional Sami photo guide
- Borrowed camera equipment including a wide-angle lens setup
- Tripod access
- Transportation to the best aurora spots
- Warm cover clothes
- Headlamp
- Small group limit (max 8), which often means more time with the guide
Also, you are not just buying a seat. You are buying instruction that helps you get usable results. If you have ever tried photographing aurora without a tripod, with the wrong lens, or with settings you do not understand, you know why this matters. Even if you already own your own camera, the tripod and the guidance can save you a lot of trial time in cold conditions.
One cost you should plan for: the SD memory card is not included. If you do not bring one, budget for buying it.
Who this Kiruna tour suits best
This tour is a good fit if you:
- Want Northern Lights photos and not just a scenic outing
- Appreciate local, place-based guidance from Sami guides
- Prefer a small group so your questions get answered
- Need help with camera setup for low light, especially if you are new to aurora photography
It is also a practical choice if you do not want to travel with a full kit. Borrowed equipment and a tripod are a big deal when you are packing for winter.
Two limits to respect:
- It is not suitable for children under 10
- Even though it is wheelchair accessible, you should still be prepared for cold weather and outdoor time, since the entire activity depends on sky conditions
Quick decision guide: should you book?
Book this tour if you want the best shot at aurora photos with real coaching, and you like the idea of a guide who actively changes location based on the night. The combination of local Sami expertise, equipment support, and hands-on instruction is exactly what turns an aurora chase into a real photography session.
Skip it or change your plan if your main goal is guaranteed aurora viewing. This tour is honest about the weather dependence, and you are taking part in a conditional hunt. For most people, that is part of the charm. For a few, it can be disappointing.
If you are flexible, dress warm, and treat it as guided aurora photography practice with a chance to see the lights, you are likely to feel glad you went.
FAQ
How long is the Kiruna Northern Lights photo tour?
The tour lasts about 4 hours.
Where are the pickup points and times?
Pickup is included. You can be picked up from Camp Ripan at 7:30 pm, or from the Touris Center, Malmvägen 9B at around 7:15 pm.
Is transportation to the aurora spots included?
Yes. Transportation to the best spots for Northern Lights is included.
Do I need to bring a camera?
No. The tour provides camera equipment with a wide-angle lens and you can borrow a camera, plus a tripod.
Do I need to bring a tripod?
No. A tripod for the camera or mobile phone is included.
What other gear is included besides the camera and tripod?
You get warm cover clothes and a headlamp.
What should I wear or bring?
Bring warm clothing. Cold weather preparation is important for the tour.
Is the Northern Lights guaranteed?
No. Seeing the Northern Lights depends on weather conditions and cannot be guaranteed.
What languages are the guides speaking?
The live tour guide speaks English and Swedish.
Is it suitable for children or people using a wheelchair?
It is wheelchair accessible, but it is not suitable for children under 10 years old.
Is an SD memory card included?
No. The SD memory card is not included but can be purchased.
Reviewed Across Sweden
More Nights Under The Aurora
Further Into Lapland
Other Swedish trips from the review pile
- Discover Kiruna: A Walk Through History and Nature
★ 4.0 · 3 reviews - Kiruna: Cross-Country Skiing Tour with a Guide
★ 5.0 · 3 reviews - Kiruna: Northern Lights Minivan Chase with Warm Drink
★ 4.8 · 4 reviews - Half day Wildlife and Nature Photography
★ 5.0 · 6 reviews - Snowmobile Safari to Lapland viewpoint
★ 5.0 · 7 reviews - Kiruna: Northern Light Photo Tour with Equipment
★ 5.0 · 7 reviews
Kiruna & Swedish Lapland, compared.
 ★ 5.0Kiruna Northern Lights Tour with PhotographerFrom $223735 reviews
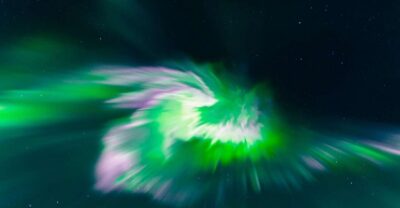 ★ 4.9Kiruna: Northern Lights Tour with PhotosFrom $187333 reviews
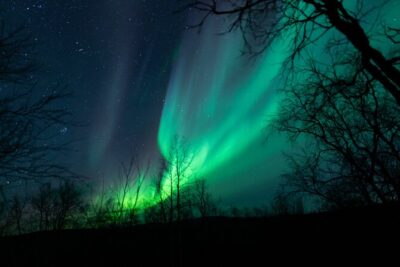 ★ 5.0Northern Lights Tour from Kiruna to Abisko with DinnerFrom $278311 reviews
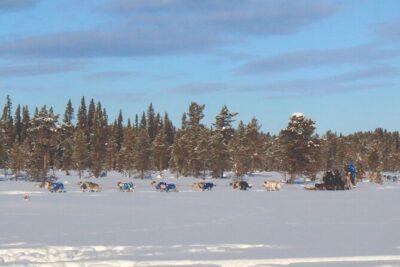 ★ 5.0Sit Down Husky Ride Dog Sled Tour in KirunaFrom $197216 reviews
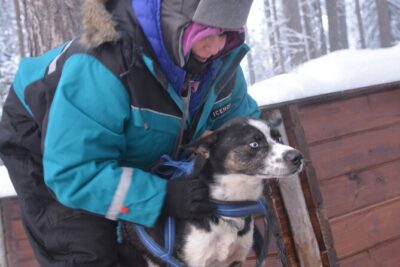 ★ 5.0Husky Tour Sit and Drive Combo Tour from KirunaFrom $271147 reviews
 ★ 4.8Kiruna: Guided Afternoon Drive Your Own Dog Sled TourFrom $276133 reviews
 ★ 4.8From Kiruna: Northern Lights Guided Husky Sledding AdventureFrom $276121 reviews
 ★ 4.8Kiruna: Morning Husky Sled Ride with Coffee BreakFrom $177118 reviews
Browse the lists this tour appears in